


Simply 3d Prints
Rapsodo MLM2PRO Ball Marker STL File
Rapsodo MLM2PRO Ball Marker STL File
Couldn't load pickup availability
✓ Ships from the Netherlands · ✓ Tracking included · ✓ Designed & made in-house
DIGITAL DOWNLOAD – NO PHYSICAL PRODUCT WILL BE SHIPPED
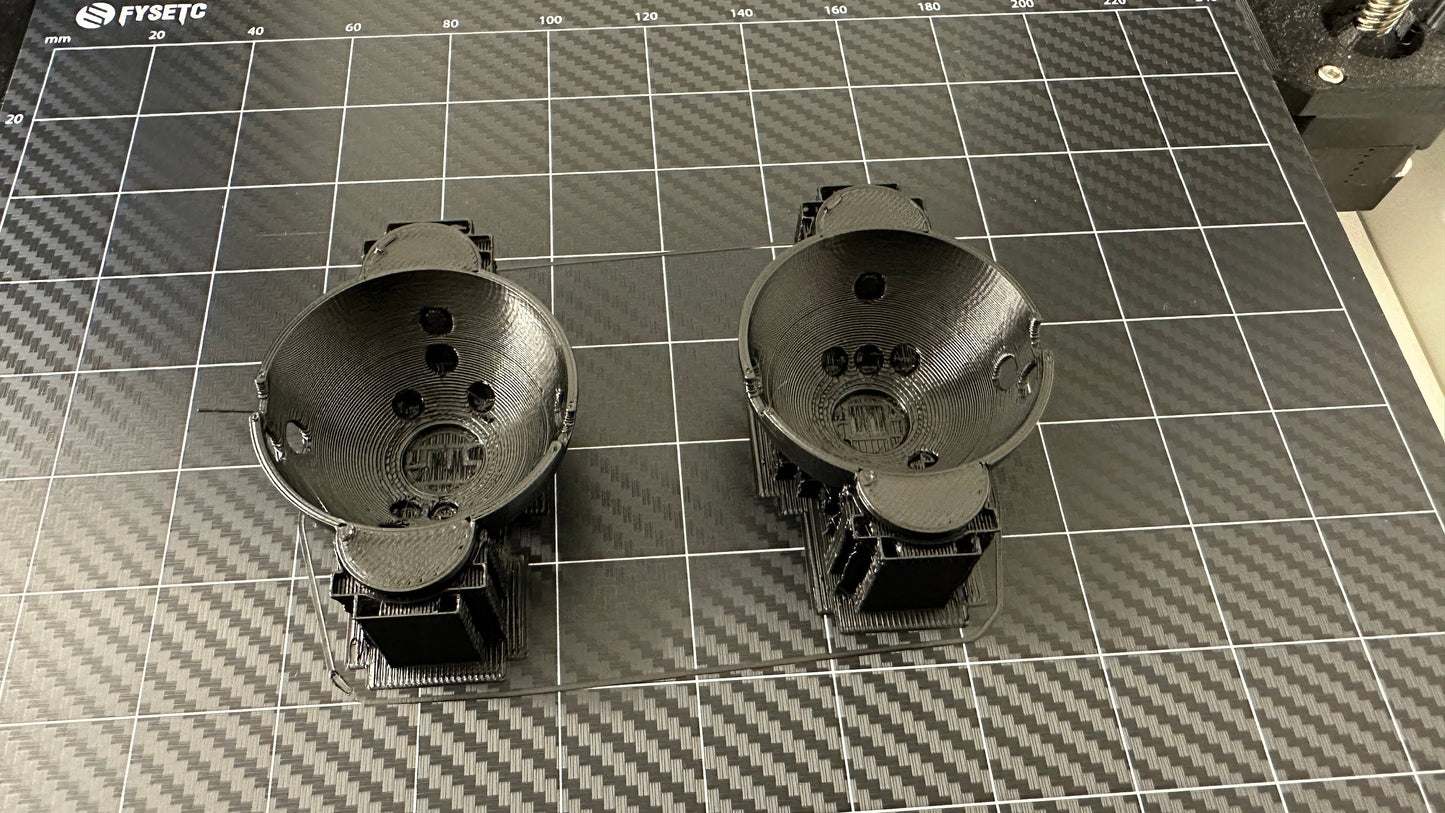
Print your own ball marker for the Rapsodo MLM2PRO with this 3D-printable STL file.
The tool helps you quickly create consistent markings on your golf balls or position small vinyl dots for use with your MLM2PRO.
This purchase includes the 3D-printable file only. Golf ball, marker pen, vinyl dots and printed ball marker are NOT included.
Product Details
Print your own Rapsodo MLM2PRO Ball Marker
Designed specifically for use with the Rapsodo MLM2PRO, this simple marking tool makes it easy to create repeatable markings on multiple golf balls.
Simply print the tool, place a golf ball inside and use the openings as a guide for consistent marking positions.
Using an impact screen? Instead of drawing directly on the ball with a permanent marker, you can use the tool to position small 5 mm black vinyl dots. This helps avoid transferring permanent marker ink onto your impact screen.
What's Included
Digital files included:
- STL file required to 3D print the Rapsodo MLM2PRO Ball Marker
Not included:
- Physical ball marker
- Golf ball
- Marker pen
- Vinyl dots
- Any other physical items
This is a digital product. Nothing will be physically shipped
How to Use
rinting
- Download the STL file after purchase.
- Import the file into your preferred slicer.
- Select suitable settings for your printer and filament.
- Print the ball marker.
Using a marker pen
- Place your golf ball securely in the printed ball marker.
- Use the openings as a guide to mark the ball.
- Allow the markings to dry completely before using the ball.
Using vinyl dots
- Place the golf ball in the printed ball marker.
- Use the openings to identify the correct positions.
- Apply 5 mm black vinyl dots at the indicated positions.
- Press the dots firmly onto the ball before use.
Impact screen warning: Permanent or waterproof marker ink may transfer from the golf ball onto an impact screen. For simulator use with an impact screen, we recommend using vinyl dots instead.
Materials & Production
3D Printing Information
This STL file is designed for FDM 3D printing.
PLA or PLA+ is suitable for normal use. Other suitable 3D-printing materials may also be used depending on your printer and preferences.
Final print quality and dimensional accuracy depend on your printer, filament, slicer settings and calibration.
Minor fit adjustments may be required depending on your printer calibration.
License
Personal Use License
This purchase is for personal use only.
The digital files, modified versions of the files, and physical products printed from these files may not be sold, redistributed, shared or used commercially.
Copyright remains with Simply 3D Prints.
Deel


Just downloaded. Will update after printing and ball marking!